AE86 Origins Pt.3 - Assembly

A little bit of context is probably important at this point. I started stripping the car down in December 2016 and my goal was to have to car on track for 86fest at the beginning of September in 2017. Being that I'd never drifted on track before, and hoped to be driving a car that had just been stripped back to a shell and then built back up again, I wanted to see if I could organise some sort of shakedown. This presented itself in the form of a low numbers drift day in Mondello at the end of August. Perfect, except the clock was ticking.

Ok now we're getting into the good stuff. Assembly time. For me this part of the process is the most fun. All the holes in the engine bay were taped up from the inside so that none of the undersealer would make its way through when it was being sprayed in the wheel wells.

It's unbelievably rewarding bolting all the shiny, new or refurbished parts that you've slaved over, into a minty fresh shell. Not a bit of dirt to be seen. The new zinc plated end links come as part of the Prothane bushing kit, they're a nice touch.

Except these TRD (once blue) springs obviously, they got pushed down the list of priorities at some point, it actually really annoys me looking at this now because I know they're still like that. Out of sight out of mind indeed. You can get a good look at the finish the Dinitrol under coating provides here though as well.
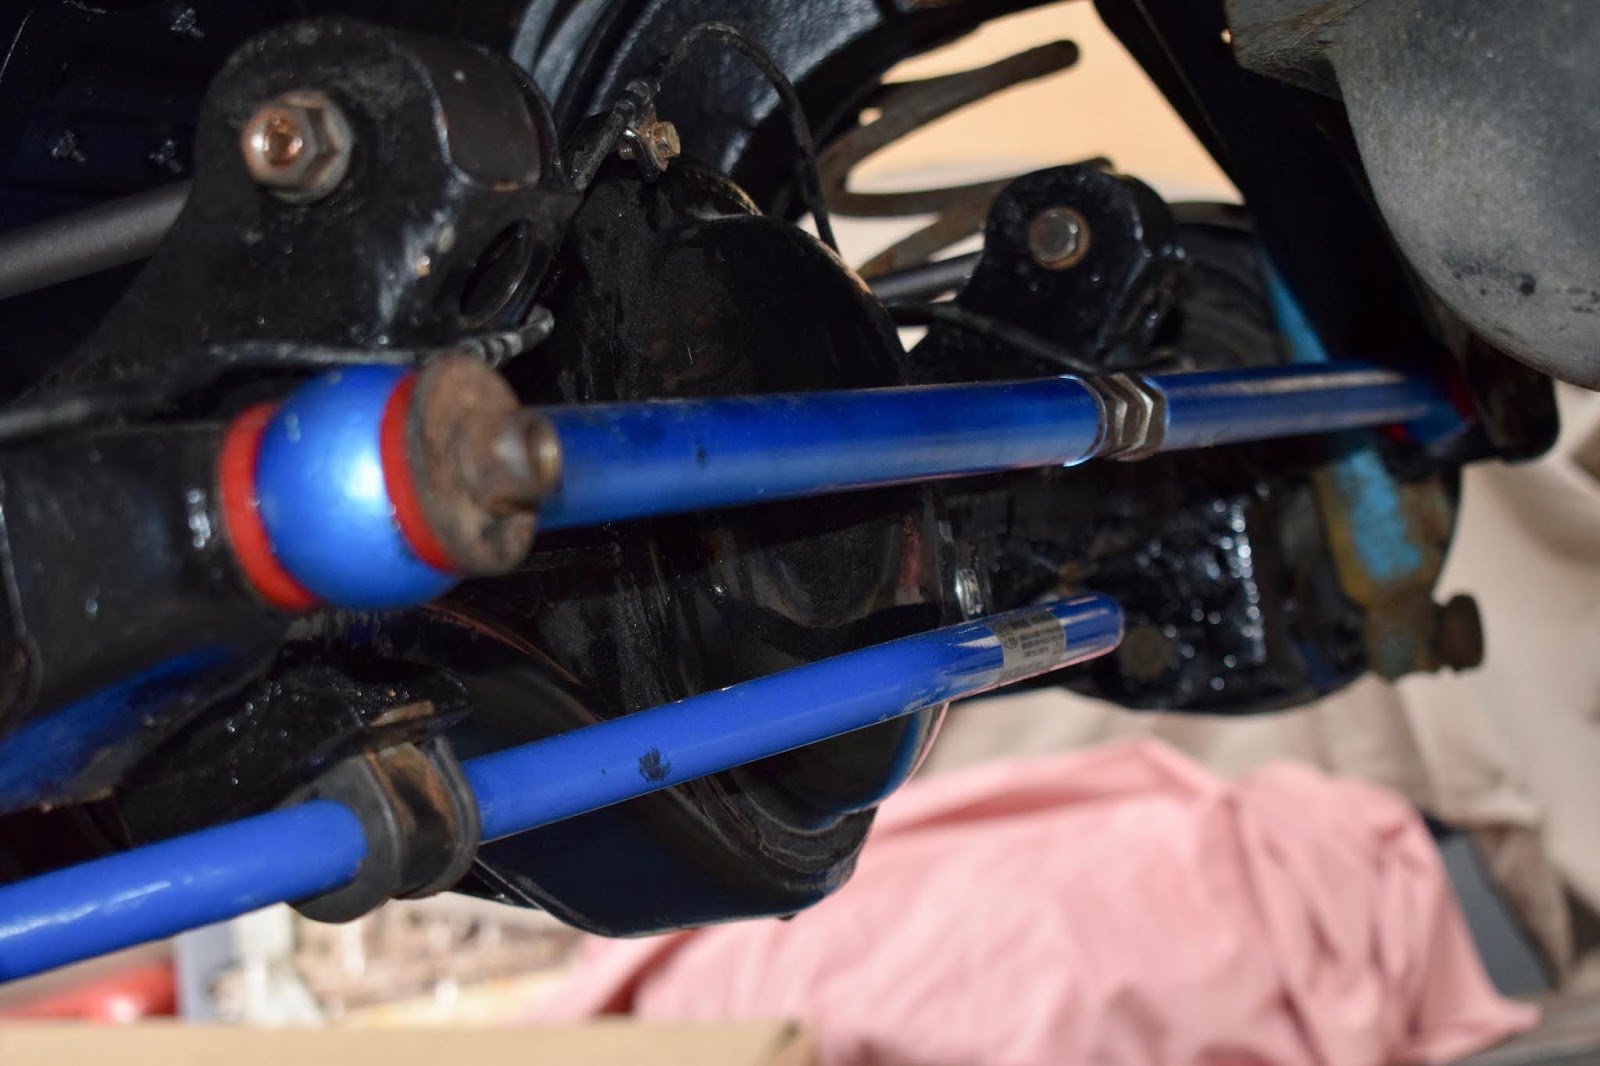
Cusco rear anti roll bar was another one of the new parts that arrived from japan. I wanted to run an uprated or stiffer anti roll bar at the rear, while keeping the front stock. This biased setup makes the car a little easier to rotate, and more prone to oversteer rather than understeer. This is definitely a desirable characteristic in a low power drift car.
 |  |
Test fit of 8 point Safety 21 dash dodger roll cage, and east bear bucket seat. This seat came in the car from Japan, but it was mounted on the passenger side. Rather than trying to source a driver side rail, I decide to modify the passenger side seat rail so that it could be used on the drivers' side. This also allowed me to make sure the seat was as low as possible, and that the seating position was just right.

Before long it was on all four wheels again. A significant milestone for sure. You might be wondering about the bar bolted to the front of the chassis legs, there was a similar bar attached to the towing eyes at the rear of the car. By using a 4x4 jack under the bars it was possible to lift the chassis up and down onto the makeshift jig you might have seen in the last post. Even at moderate heights like this, it meant I could drop it onto the ground, or lift it onto the dollies with ease. Rather than having to mess around with a traditional jack, little stuff like this makes a big difference when you're working on your own.
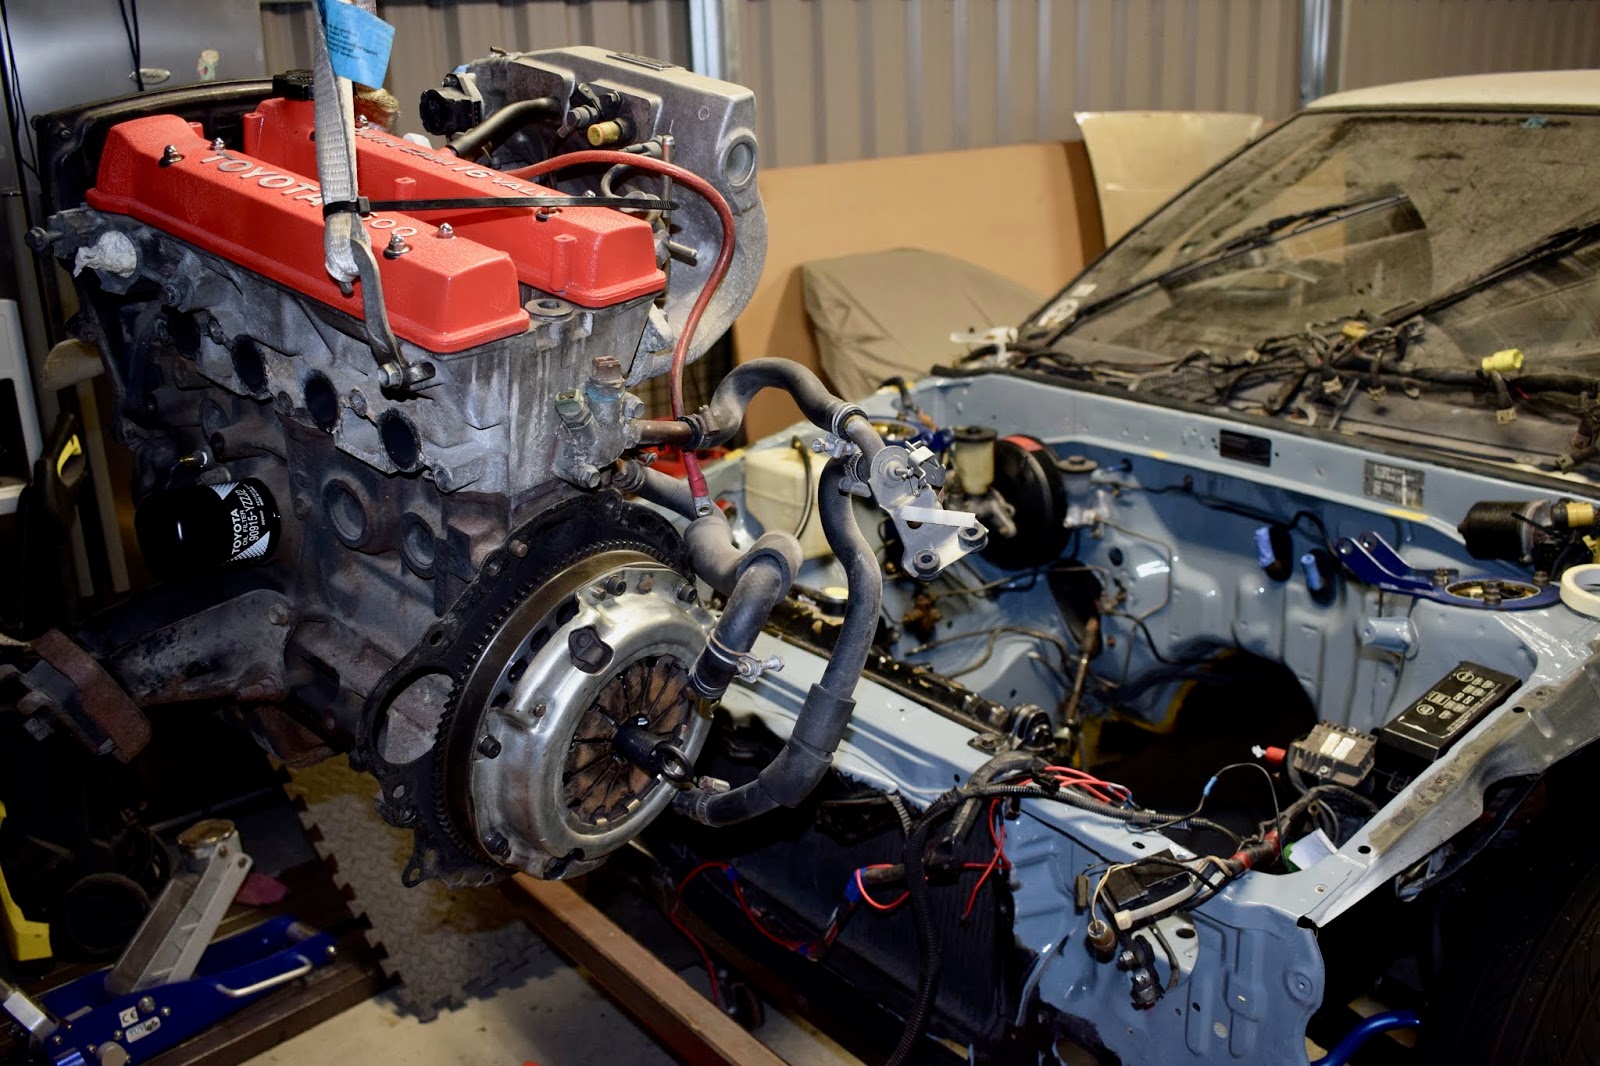
Time for the little 4age to go back where it belongs again.

Might be something to mention here that I am a bit of a purist when it comes to these cars. Not so much in that they shouldn't be modified, quite the contrary in fact, but I firmly believe a naturally aspirated 4age of 16v or 20v variaty is the only engine that belongs in these cars. It could be interesting to explore in a bit of detail down the line, but I'll just let it be stated for now.

If you look back at the pictures in the last post, its night and day. I deleted what I could from the engine bay (charcoal canister, water bottle etc.), and tried to tidy up the wiring as best I could without really going crazy. At some stage I would definitely like to get it looking really tidy by perhaps moving the fusebox inside the cabin and rerouting the engine harness.

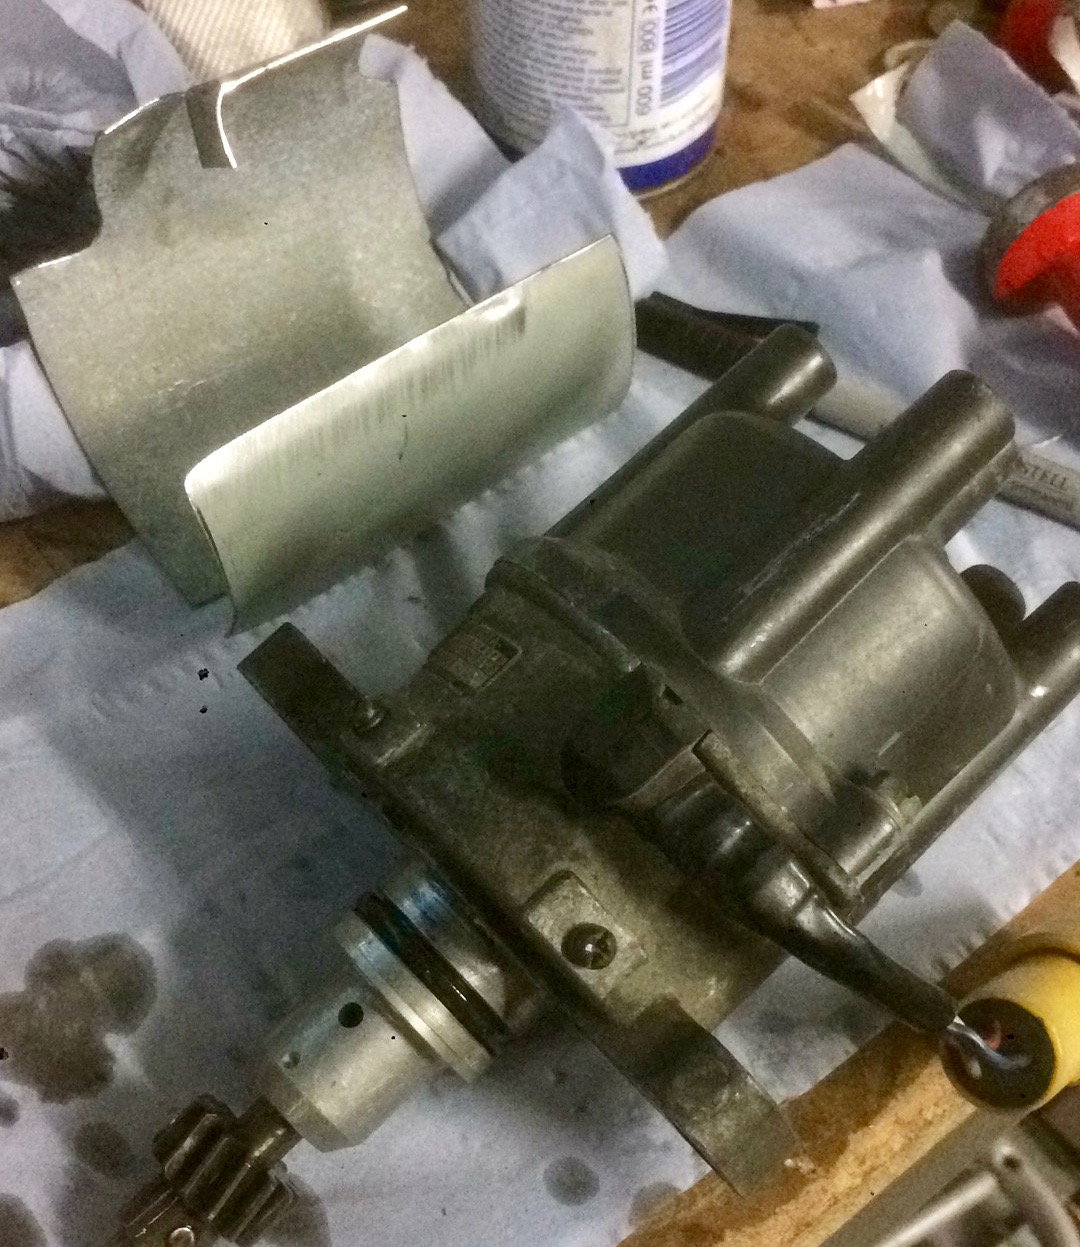
This Fujitsubo exhaust manifold came with mounts for the original heat shield. Seeing as they would never be used, I cut them off, and wrapped it in new heat wrap.

I was really happy with how everything was coming together at this point.
 |  |
Back on the ground on the new wheels, and moving under its own power for the first time in however many months.

With the car having been raised up in the air for so long for the welding, I couldn't wrap my head around how low (despite being at a sensible ride height), and small it looked when it was actually on the ground.

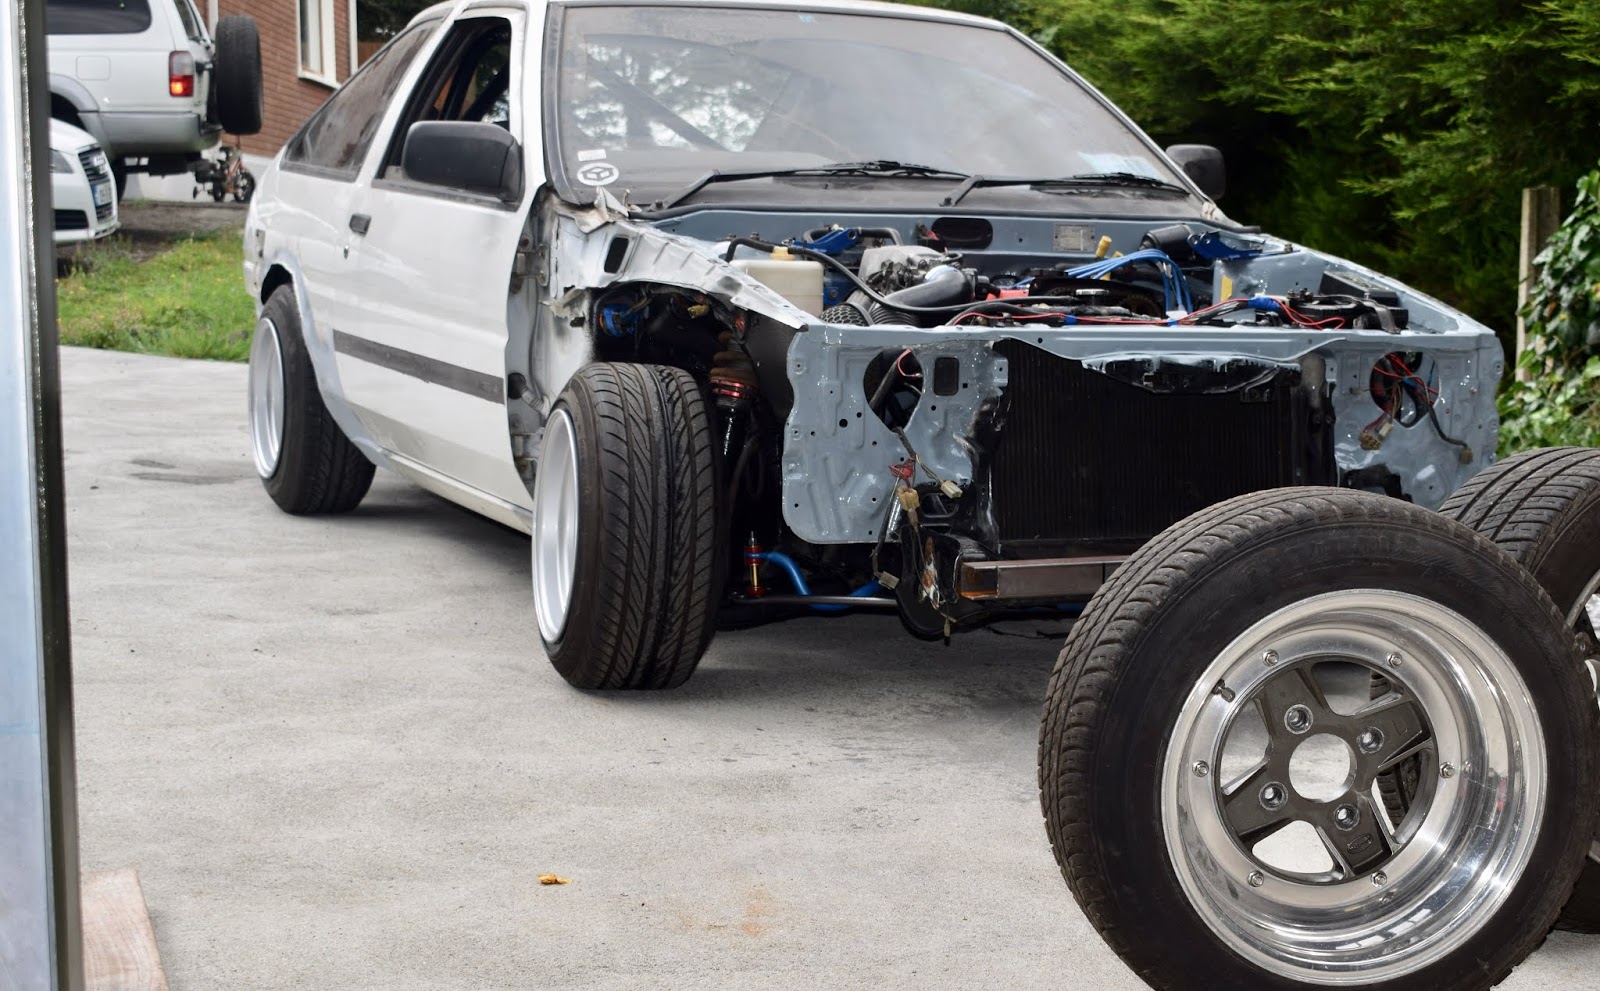
Flared metal front wings, lights, and a fibreglass bonnet made their way on to the car.

As did the rear arches, you can see here that they are just tack welded on. this is basically as far as I got before it was time to get ready for its first event (spy the petrol container and mark II's in the boot). Yes some of it was still in primer and it had mismatched colour body panels, but honestly I didn't care. I was unbelievably excited to get it out on track and see how it worked.

From the point at which the car rolled outside to be undersealed as a nearly bare shell to the picture above took about two and a half weeks. There was a decent effort involved but most of the grind was done, and it was predominantly a really enjoyable experience. Driving impressions in the next part, I'll also bring you up to speed on how the car sits now, and what the future holds for it.
Credit to Tommy Lucas for the above pic.
Comments
Post a Comment